Written in collaboration with ReBrainMe
Docker is the de facto standard containerization engine, widely used for running applications in both development environments and high-load production environments. You can learn more about terminology here.
The purpose of this article is to install and run Docker locally, start getting acquainted with this fascinating system, and grasp the basics.
Installing Docker 
Docker has official instructions for installation. In practice, I used the installation script (for Linux):
| |
If the curl utility is not installed, download the script and run it manually:
| |
If you want to install a specific version of Docker, you can use the installation scripts from Rancher, which you can find and download here. The script is run in the same way, you can change the URL in the curl command, and it will work.
Configuring Docker 
It works out of the box, but there are a couple of things I would recommend adjusting right away based on personal experience.
Configure the logging driver 
By default, the json-file driver is used, which does not limit the size of the JSON file where logs for the corresponding container are stored. You can adjust this on Linux by editing the /etc/docker/daemon.json file. If the file does not exist, create it. The content to add:
| |
This configures the json-file driver to not create more than one log file per container, with the file size not exceeding 100 MB. This can be overridden when starting the container, but having these defaults saves you from wondering, “Where did 6 GB go in one day?”
Start the Docker service 
Sometimes it does not start automatically after installation. You can fix this on Linux with:
| |
Here, we used systemctl to start the Docker Engine and enable it to start on boot.
Add the user to the Docker group 
To be able to interact with the Docker Engine as a non-privileged user (without sudo), you need to add the user to the Docker group.
| |
For the changes to take effect, you need to reboot or use ACL.
| |
Getting acquainted with DockerHub 
Containers are created from images. An image is an ordered set of filesystem layers that were created during the build process. People share images by uploading them to a Docker Registry. The most popular one is DockerHub. Many software products are published here and supported officially, and there are many tools created by individuals or small communities that are as good as the official ones. It is important to check what you are downloading and running – whether it’s an unknown source with no documentation or an official build that is regularly updated and comes with clear documentation. There have been rumors of miners in unknown images… but that’s more of a rarity than a rule (in my experience).
Here are some links to official images: HaProxy, Nginx, PostgreSQL, MySQL, Grafana, Prometheus.
Running the first container 
| |
Opening http://localhost:8080 shows:
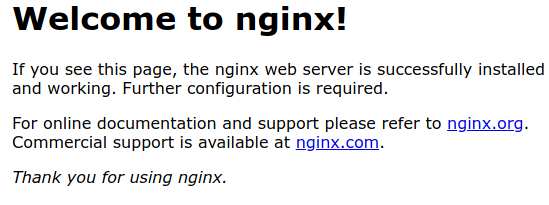
What did we do? Let’s break down the command step by step.
sudo – run the following command as another user, defaulting to the superuser root.docker – run the Docker executable, found in one of the paths specified in the PATH environment variable.run – create and start a new container.--rm – remove it after it finishes running, so it doesn’t take up space.-i – attach stdin/out/err from the shell to the container; run in interactive mode.-t – create a TTY for the container.-p 8080:80 – forward port 8080 from the host to port 80 inside the container.nginx:stable-alpine – use the nginx image with the tag stable-alpine to create the container. Other tags can be found on the Nginx DockerHub page.
Mounting 
It’s often necessary to attach some data to the container or take it out so that it’s not lost when the container is recreated. More details can be found here.
| |
Here we created the file /tmp/my_file.txt and mounted it to /usr/share/nginx/html/index.html. According to the container description, and by empirical means, we can determine that the web server’s file path in the default configuration file is /usr/share/nginx/html, and the default file to open as the main page is index.html. Thus, we mount from the host to the container at the found path.
When mounting, be careful. If mounting a file, it must already exist on the host at startup, otherwise, a directory will be created. When mounting, the path on the host must be absolute. When mounting a directory, the contents of the target path inside the container will disappear and be replaced by the contents of the host folder.
Running in background mode 
| |
Here, a couple of new flags appeared. -d – run in the background. --name my1 – set the container name to “my1”, as a random one is generated by default, but we want to assign our own. Check the container status.
| |
The first command displays information about all running containers, and the second provides a brief summary of resource consumption. Open Grafana.
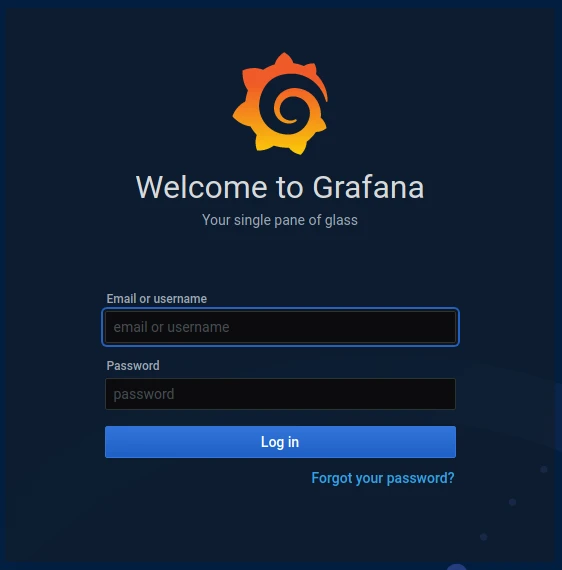
We can log in, explore (login: admin, password: admin), and then stop the container.
| |
As you can see, the container is stopped but not deleted. We can start it again or remove it.
| |
Conclusion 
We installed Docker, got acquainted with DockerHub, launched a couple of containers, and tried basic commands for running applications with Docker Community Edition.